(thanks to my friend SARES for the inspiration to try this technique)
Gather your supplies, scraps, adhesive, punch and a base cardstock piece (I use 8 1⁄2 x 11)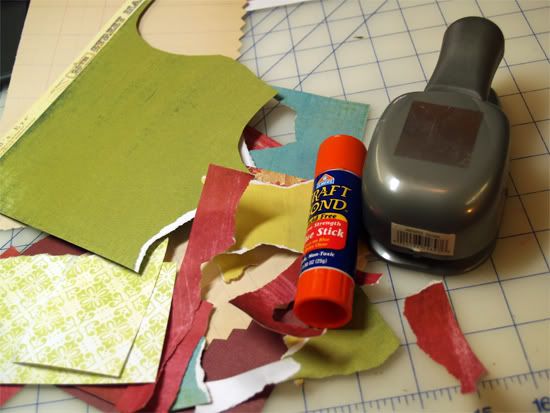
Glue the pieces together onto the cardstock to form a collage of scraps.
Cover as much of the cardstock as you think you will need!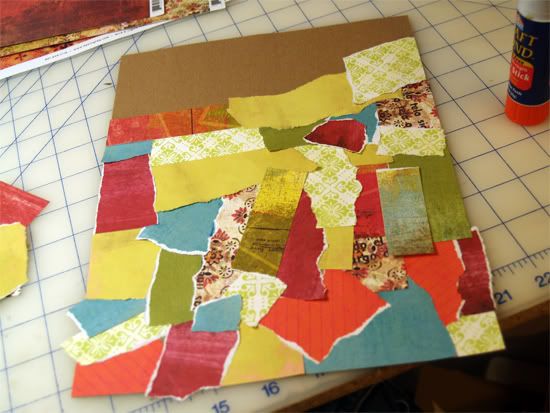
Use your punch to punch out shapes that show several scraps in an appealing way.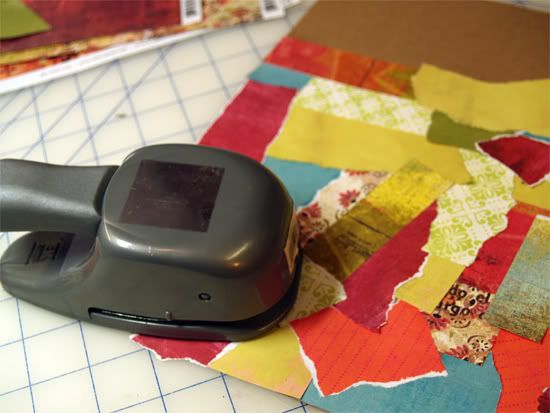
These little embellishments are fun to arrange and rearrange due to their varied colors!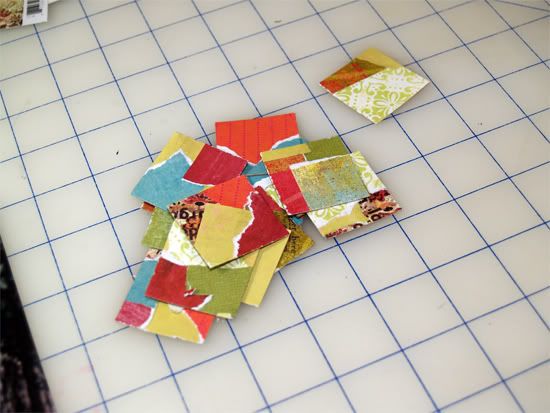
Place punched pieces onto your layout and enjoy!
Have a charming weekend!
Holly
Friday, January 29, 2010
Scrap Embellishment Tutorial
Thursday, January 28, 2010
Raised Watermark Tutorial
Here I will show you a super easy and popular technique used everyday in the scrap world. Today we will be learning how to leave a raised watermark impression. First gather the following supplies, you will need, a heat gun, some embossing or pigment ink any kind of ink that dries slowly can be used here, embossing powder in clear, any stamp, some paper, and some ink that is darker than the paper you’ve chosen.
 First grab your stamp and coat it generously with the embossing ink, you can do this by pressing the stamp onto the pad of ink or by picking up the ink pad and pressing it down onto the stamp.
 When you feel you have coated the stamp with enough ink hover your stamp above your paper to get it into position then press down firmly. Remove the stamp and wash with soap and water or wipe off with a baby wipe.
Next unscrew the cap from you embossing powder and pour over stamped image. You want to be fairly quick with this step to prevent drying out the ink
Turn on your heat gun and let it warm up a few seconds then point toward your image. If you are using a light or thin piece of paper sometimes its better to apply the heat from behind the paper to reduce the chance of burning your paper and leaving unsightly marks.
Your image is correctly embossed when it turns shiny and has a smooth texture
Now that your image is embossed take out your ink that is darker than your paper. Here you can apply the ink directly to the image. A great tip is to use an application tool, I personally prefer to use makeup sponges to save money and time. Saturate your applicator.
Rub onto image. In the end you have a fabulous image that adds depth and personality to any project!
Wednesday, January 27, 2010
Sneak peeks from the DT
Now that you've seen the new February kit, would you like to see some sneak peeks from the layouts that the DT girls have done?!?!? OK, here you go!!


Tuesday, January 26, 2010
February's kit is up and ready for sale and....
It's so spectular and the paper's are so GREAT we couldn't just pick 1 :-) I really loved this kit and had a great time creating with it! These kits are packed with scrappy goodness!!
February Kit(s)
Something Sweet-main kit-$19.99
Book of Love-altered book kit-$23.99
Have a wonderful week! Char
Subscribe to:
Posts (Atom)