
Project by Sarah Edens:
(you may have to copy and paste the images in another window)
SUPPLIES:
-Paper lunch Bags (any size)
-adhesive
-paper trimmer
-stylus
-hole punch
-bone folder (or some other way to crease)
PAPER BAG ALBUM
Step 1: Fold and crease bags both directions at the base flap. This iswhere each page of the album is going to fold/turn. You can do as manyas you like. I did 4 bags, which means this album will be 6 pages, andfront/back cover.
http://i71.photobucket.com/albums/i143/beware0fcurves/PBA2.jpg
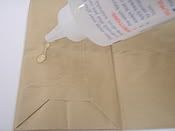
Step 2: Adhere the base flap down to the bag.
http://i71.photobucket.com/albums/i143/beware0fcurves/PBA4.jpg
Step 3: Glue bags together at the base flap.
http://i71.photobucket.com/albums/i143/beware0fcurves/PBA3.jpg
Completed:
http://i71.photobucket.com/albums/i143/beware0fcurves/PBA5.jpg
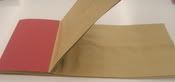
Adding the cover:
Cut paper to size of base flaps:
http://i71.photobucket.com/albums/i143/beware0fcurves/PBA6.jpg
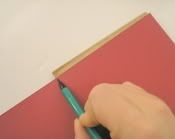
Mark where your first score line should be.
http://i71.photobucket.com/albums/i143/beware0fcurves/PBA7.jpg
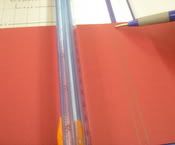
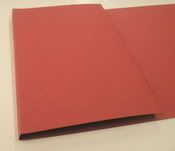
There should be two score lines for the edge. Use a stylus and yourpaper trimmer to score the paper.
http://i71.photobucket.com/albums/i143/beware0fcurves/PBA8.jpg
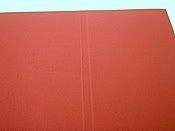
You should have two clean score lines for easy folding.
http://i71.photobucket.com/albums/i143/beware0fcurves/PBA9.jpg
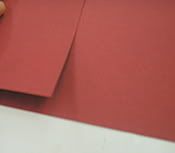
Fold the lines, so that you can mark where your next cut will be.
http://i71.photobucket.com/albums/i143/beware0fcurves/PBA10.jpg
http://i71.photobucket.com/albums/i143/beware0fcurves/PBA11.jpg
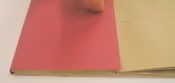
Cut to fit.
http://i71.photobucket.com/albums/i143/beware0fcurves/PBA12.jpg
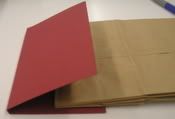
Glue down.
http://i71.photobucket.com/albums/i143/beware0fcurves/PBA13.jpg
Binding is complete, now you can decorate!http://i71.photobucket.com/albums/i143/beware0fcurves/PBA14.jpg
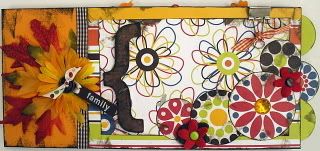
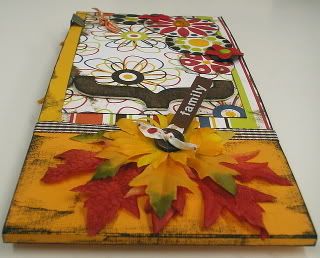
EXAMPLE:
http://i71.photobucket.com/albums/i143/beware0fcurves/FallBookCover1.jpg
http://i71.photobucket.com/albums/i143/beware0fcurves/FallBookCover2.jpg
AWESOME EXAMPLES and project!! THANK YOU SARAH!!!
Tuesday, October 9, 2007
PAPER BAG ALBUM
Subscribe to:
Post Comments (Atom)

1 comment:
Thanks for posting all of those detailed photos and instructions! I haven't made one yet but hope to soon!
Post a Comment